Building your AR-15 lower receiver? If you have all the tools and components, I’ll walk you through the process, starting with installing the magazine catch. I have included a video (see above) of me showing and explaining how to build your AR-15 lower receiver, and I will be placing time stamps with each step in this guide that will match up to the corresponding content in the video. If you like, you can fast forward the video to that specific time to watch me install that part. Believe it or not, there are only 10 steps to building a complete lower.
Remember, you are 100% responsible for double-checking the federal laws and regulations as well as your local state laws and regulations pertaining to building, possessing, and owning a firearm. You are also responsible for any malfunctions, breakage, or injury that you may cause.
Also, please make note that the instructions I am providing here will be explained using the tools that I listed earlier in this guide, so your experience may differ slightly if you’re not using the same tool set.
Now let’s get started.
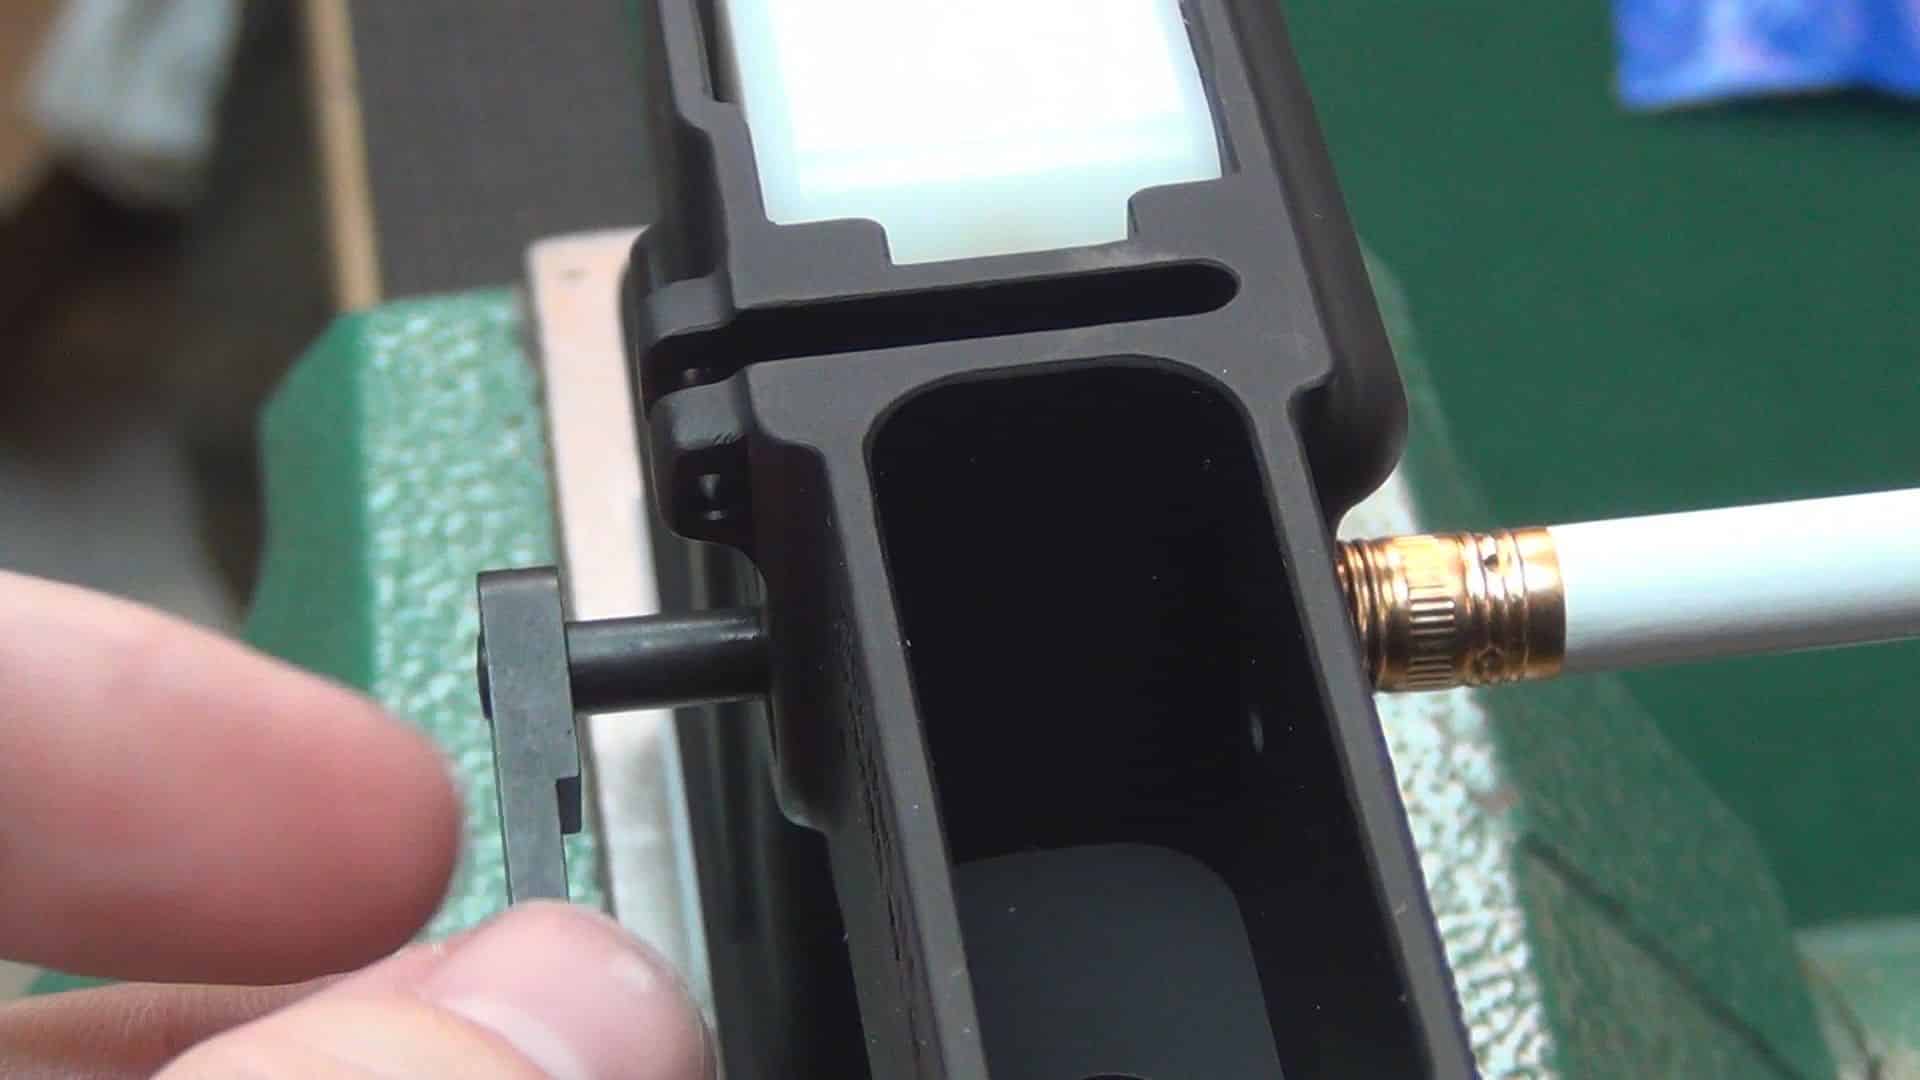
Place the AR-15 lower receiver vise block into the bench vise and then place the lower receiver onto the vise block. Grab your magazine catch, button, and spring.
Place the catch into the left side of the lower receiver so the long part that has threads is going into the receiver. Now take your magazine catch spring, and install it from the right side of the lower receiver, sliding it over the threaded portion. Place a finger over the magazine catch on the left side of the lower receiver to keep it from being pushed out. Now spin the magazine catch button clockwise until it catches the threads of the magazine catch. It can be tricky because of the spring providing resistance, but just be patient and you will get it.
After the button has been spun a few times, you will feel as if you have run out of room. This is where the pencil comes into play. Using the rubber eraser end of the pencil, push the magazine button from the right side of the lower receiver so the magazine catch protrudes on the left side. While maintaining pressure with the pencil, spin the magazine catch clockwise until you just feel it make contact with the pencil eraser. Make sure you take your time here as you could scratch that lower receiver if you’re not careful when spinning the magazine catch.
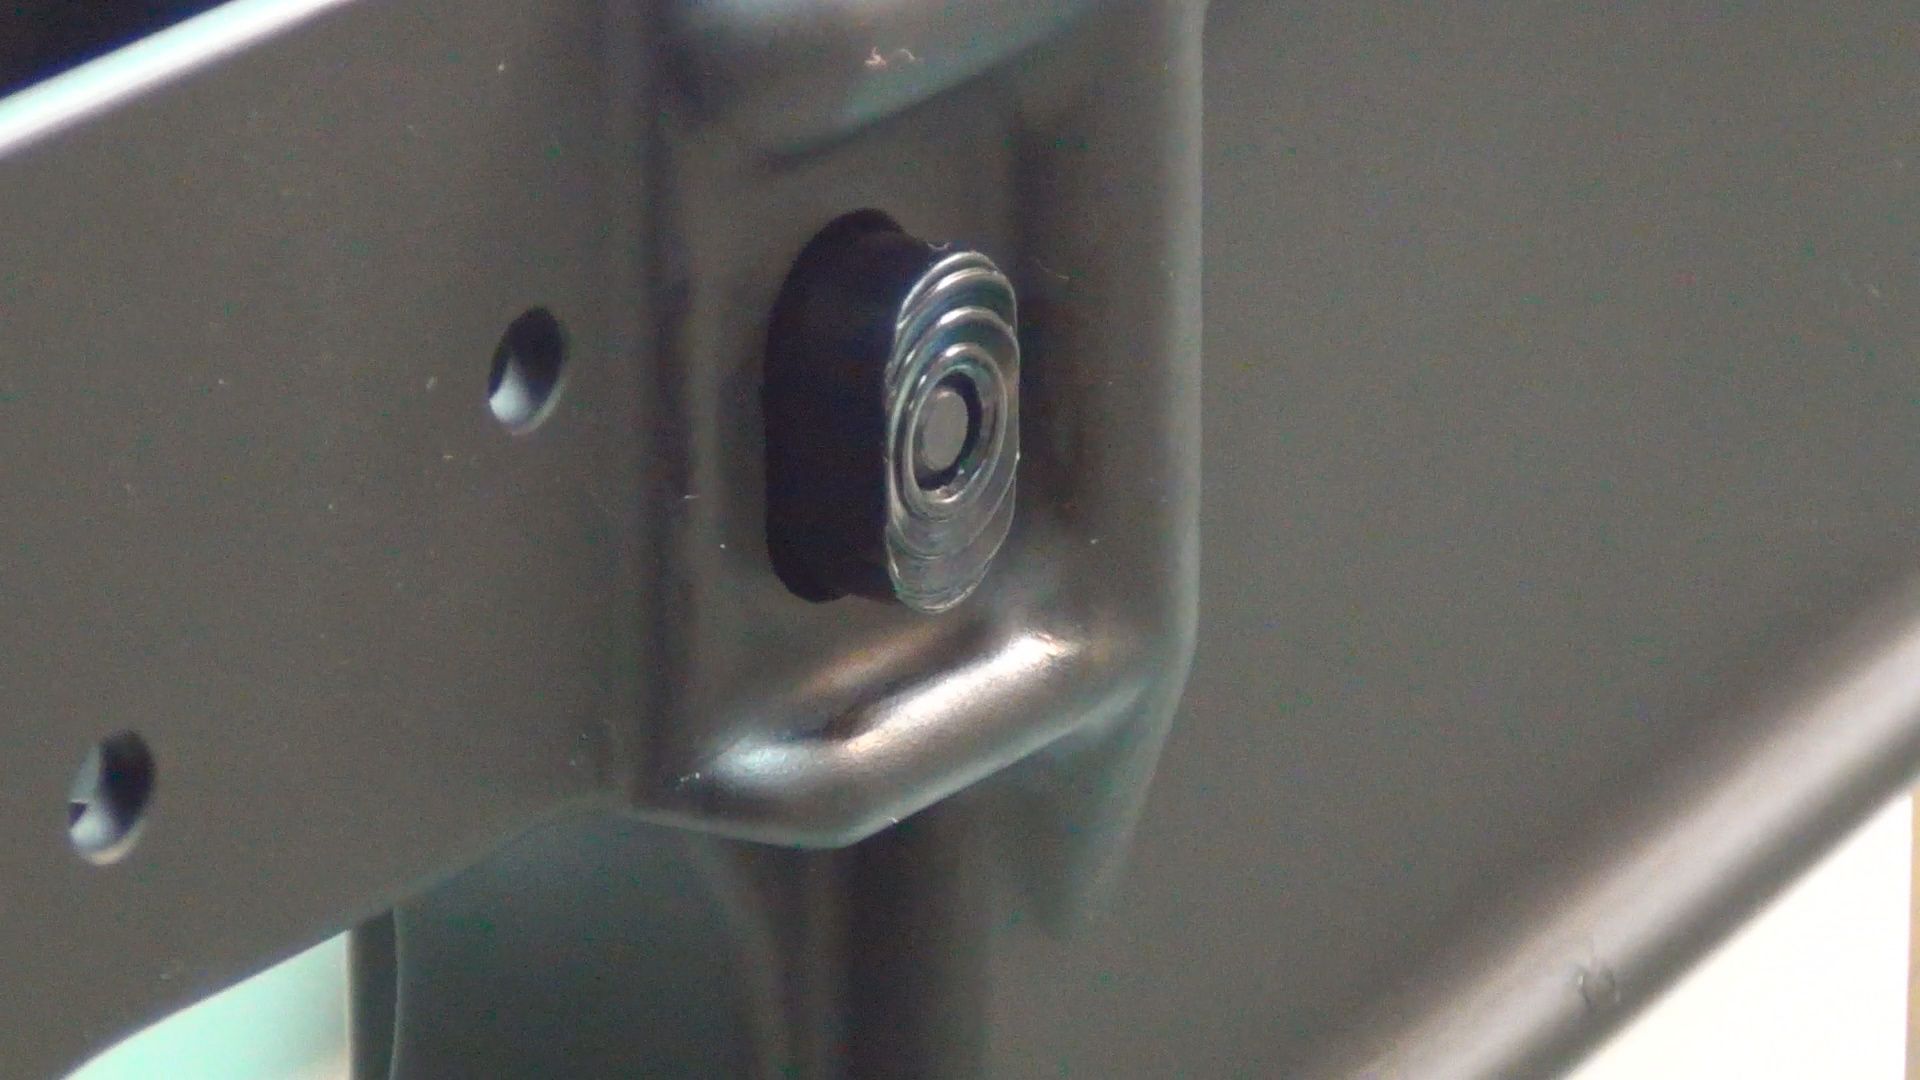
Now for a functions check. Just install an empty AR-15 magazine into the magwell of the lower receiver and confirm that the magazine catch does what it is supposed to do. Did it catch it? Good. Now press the button and make sure the magazine is properly released.
The next step I’ll cover in this “how to build an AR-15 lower receiver” series is: how to install a trigger guard. Stay tuned!
Filed Under: AR-15
© Copyright 2020 Thearmsguide · All Rights Reserved.
Affiliate disclosure: As an Amazon Associate, we may earn commissions from qualifying purchases from Amazon.com.