At a Glance: Best Bedside Gun Safe OUR TOP PICK: Awesafe Pistol Safe with Fingerprint ID and Biometric Lock RUNNER UP: BILLCONCH Biometric gun safe BEST BUDGET OPTION: RPNB pistol [Read more...]
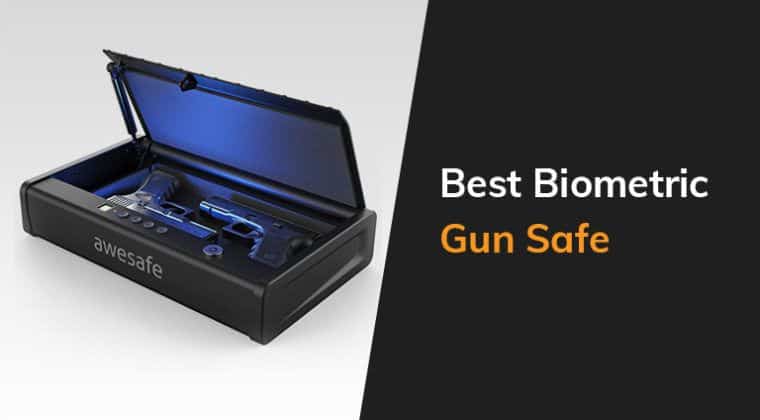
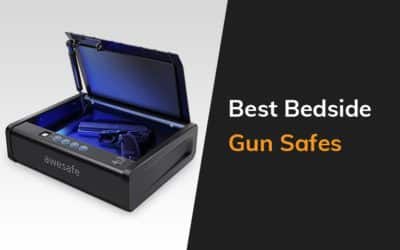
At a Glance: Best Bedside Gun Safe OUR TOP PICK: Awesafe Pistol Safe with Fingerprint ID and Biometric Lock RUNNER UP: BILLCONCH Biometric gun safe BEST BUDGET OPTION: RPNB pistol [Read more...]
At a Glance: Best Gun Safe Lights OUR TOP PICK: LED Rechargeable Motion Sensor Lights RUNNER UP: Wobane under cabinet lighting kit BEST BUDGET OPTION: Torchstar LED safe lighting [Read more...]
At a Glance: Best Budget AR-15 Rifle OUR TOP PICK: Smith & Wesson M&P15 Sport II READERS CHOICE: PSA AR-15 RUNNER UP: Aero Precision AC-15 Mid-Length Complete Rifle Compar [Read more...]
At a Glance: Best AR-15 Cases OUR TOP PICK: PELICAN 1700 BEST BUDGET OPTION: FLAMBEAU TACTICAL 6500AR BEST SOFT CASE: Condor Single Rifle Case Comparison of the Best Hard and Soft AR-15 Cases PRODUCT DETAILS Our Top Pick PELICAN 1700 Indestructible build Everything proof Airline [Read more...]

At a Glance: Best Lower Parts Kit For AR-15 OUR TOP PICK: CMMG AR-15 Lower Reciever Parts Kit BEST SELLER: Geissele Standard Lower Parts Kit BEST OVERALL: Bravo Company AR-15 Enhanced Lower Parts Kit Comparison of the Best AR-15 Lower Parts Kit PRODUCT DETAILS Our Top Pick CMMG A [Read more...]
At a Glance: Best Muzzle Brake Devices OUR TOP PICK: Surefire – AR-15/M16/AR 308 Warden OUR TOP PICK: VG6 Precision – Gamma 65 Muzzle Brake 6.5 Creedmoor BEST BUDGET OPTION: Area 419 – Hellfire Muzzle Brake Review Of Top 3 Best Muzzle Brakes PRODUCT DETAILS Best Hybrid [Read more...]
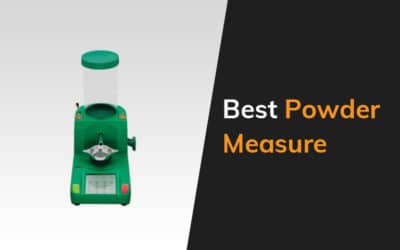
At a Glance: Top Powder Measures OUR TOP PICK: RCBS – Chargemaster Lite 120/240vac RUNNER UP: RCBS – Chargemaster Powder Dispenser / Scale Combo BEST BUDGET OPTION: Lee Precision – Auto-Drum Powder Measure Comparison of the Best Powder Measures in 2022 PRODUCT DETAILS Our T [Read more...]
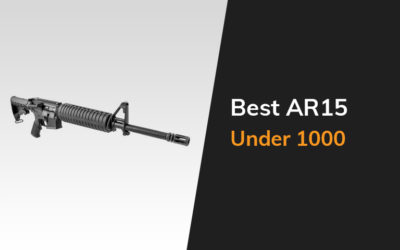
At a Glance: Best AR-15 Rifles Under $1000 OUR TOP PICK: PSA PA-15 16″ Carbine-Length 5.56 NATO Classic Rifle RUNNER UP: Smith & Wesson – M&P15 Sport 16in BEST BUDGET OPTION: Ruger AR-556 Comparison of the Best AR-15 Rifles Under $1000 PRODUCT DETAILS Our Top [Read more...]
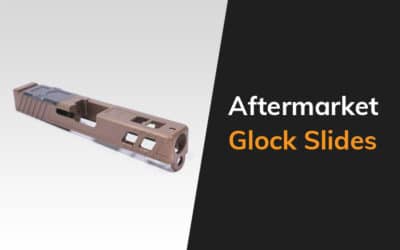
At a Glance: Aftermarket Glock Slides OUR TOP PICK: Alpha Shooting Sports Alpha Marksman V4 Slide For Glock 17 & 19 Brownells RMR Cut Slide for Glock 19 Gen 3 BEST BUDGET OPTION: Zev Citadel Stripped Slide with RMR Plate Comparison of The Best Aftermarket Glock Slides PRODUCT [Read more...]
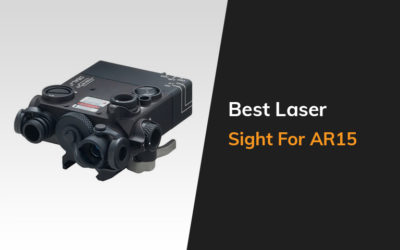
At a Glance: Best Laser Sights for AR-15 OUR TOP PICK: Steiner Optics – DBAL-I2 Dual-Beam Visible and IR Aiming Laser RUNNER UP: Holosun Visible and IR Laser Sight BEST BUDGET OPTION: TruGlo – MICRO-TAC tactical micro laser Comparison of the Best Laser Sights for AR-1 [Read more...]
At a Glance: Best 1911 Trigger Upgrades OUR TOP PICK: Nighthawk Custom 1911 Drop-in Trigger Unit RUNNER UP: Ed Brown 1911 Trigger BEST BUDGET OPTION: Wilson Combat 1911 Ultralight Match Trigger Comparison of The Best 1911 Trigger Upgrades PRODUCT DETAILS Editors Pick Nighthawk Cu [Read more...]
At a Glance: Best Turret Reloading Press OUR TOP PICK: Lee Precision – 4-Hole Classic Turret Press OUR TOP PICK: Redding – T-7 Turret Press BEST BUDGET OPTION: Lyman All American 8 Turret Press Comparison Of The 3 Best Turret Presses PRODUCT DETAILS Our Top Pick Lee P [Read more...]
At a Glance: Best 308 Muzzle Brake OUR TOP PICK: Precision Armament M4-72 Severe Duty Muzzle Brake OUR TOP PICK: VG6 Precision AR 308 Epsilon 762 Muzzle Brake BEST BUDGET OPTION: Bravo Company BMCGunfighter MFG 1/2-28 Compensator Comparison of The Best .308 Muzzle Brakes PRODUCT [Read more...]
At a Glance: Best AR-15 Magazine Speed Loaders OUR TOP PICK: Butler Creek ASAP electronic magazine loader TOP RATED: Maglula AR15/M16 Striplula BEST BUDGET OPTION: Butler Creek AR15 ASAP Universal Magazine Loader Comparison of Best AR-15 Magazine Speed Loaders PRODUCT DETAILS Our [Read more...]